Photo Guide for
Precise Results
The Hufrehealarm app calculates crucial metrics, such as the palmar angle, directly from your photos. Because our algorithms analyze alignment lines down to the millimeter, the accuracy of the results depends entirely on the quality of your image. Even a slightly tilted perspective or uneven ground can distort the analysis.
To ensure a precise AI analysis of the hoof's mechanical load, please follow these steps carefully:
1. Preparation
Firm ground (Flat & Hard): Position your horse on a completely level, solid surface (e.g., concrete, asphalt, or pavement). Avoid grass, bedding, or deep sand, as the hoof will sink, making it impossible to calculate the ground angle accurately.
Clean & dry the hoof: Remove all dirt, mud, or loose bedding. Important: The hoof must not be wet! Moisture can cause reflections that may distort the AI analysis results.
Stand square: Ensure the horse is standing square, distributing its weight evenly on all four legs. The leg being photographed must stand vertically and bear weight normally.
2. Camera Positioning
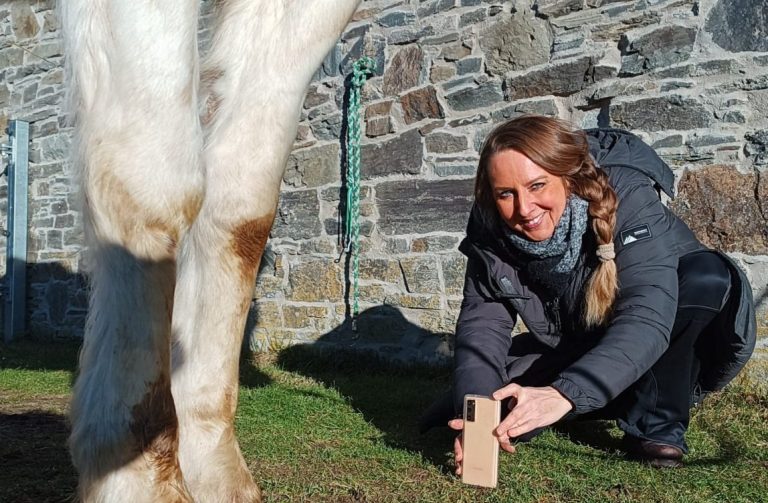
Get down to hoof level (Camera Position): Crouch down! Do not take the photo from a standing, downward angle. Hold your phone or camera exactly at hoof height (ground level), pointing directly at the vertical height of the center of the hoof wall.
Side View (Exact 90° Lateral Angle): Position the camera at a strict 90° angle to the side of the hoof. Shooting too far from the front or from behind will create perspective distortion, altering the true angle.
3. Quality Check
Coronary band must be fully visible: This is the most critical requirement! The coronary band must not be covered or obstructed at any point. As the user, it is your responsibility to ensure this transition is completely clear, otherwise the quality of the AI analysis will suffer significantly. The coronary band and the dorsal hoof wall must be clearly visible.
Focus: Ensure the image is perfectly sharp and not blurry.
Lighting: Avoid harsh shadows or direct sunlight hitting only parts of the hoof. Bright, indirect daylight works best.
Distance: Keep enough distance so the entire hoof and the area just above the coronary band are fully visible, while staying close enough to capture fine details.
💡 Pro Tip: If your horse has long feathers (hair) covering the coronary band, please brush or pull them up securely (e.g., with an elastic band or clip) so the transition from skin to hoof horn is completely and seamlessly visible.
Watch the short videos below to see exactly how to position your camera perfectly:
The perfect location
For taking photos, look for a quiet place with flat, level, and clean ground. It should be bright, but make sure you are not shooting into the sunlight."
The right perspective
For a usable photo, the camera lens must be aligned exactly with the center of the hoof wall. Make sure the phone is held straight at ground level.
The well-prepared hoof
For the AI to do a good job, the hoof must be perfectly prepared for the photoshoot. It should be clean and dry. When taking the photo, please ensure that the coronary band is clear of hair at every single point—from the very front in side view (at the toe) all the way to the back (at the heel). Watch the video to see exactly what a clear coronary band looks like. Please lock the camera's focus on the hoof.